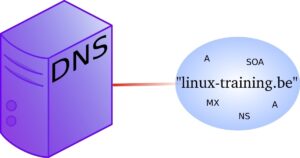
Today, we will learn to configure DNS in Linux along with CNAME, PTR, and A record:
Before starting to configure the DNS server make sure you are on the root by:
su – root
# first check whether DNS is installed or not by:
yum -y list bind
#my bind is already installed, otherwise, we can install by:
yum -y install bind
# now bind is installed, now we must open the. zones by and it will open the windows
less /etc/named.rfc1912.zones
Read Also: Naa Songs
# copy the selected part and edit the named.conf by:
nano /etc/named.conf
# at the end of the file paste that selected part and changes the zone name into the file name as Bhurtel.itc333.edu
And change the options part, delete the localhost and keep ‘any’ so that it allows from anywhere, not from only the localhost (Ellingwood, 2014).
# now save the file CTRL + alt and CTRL+X
# now change the directory to /var/named by:
cd /var/named
# to check the files inside it just does:
ls -l
# to copy localhost to Bhurtel.itc333.edu, simply do:
cp named. localhost Bhurtel.itc333.edu
# to modify the Bhurtel.itc333.edu, simply do:
nano Bhurtel.itc333.edu
# To configure the A and PTR record inside the Bhurtel.itc333.edu, we simply do
# Inside the Bhurtel.itc333.edu, ns1 used in the second line gives the authoritative permission (ns1, 2013). And as shown in the fig NS gives the name server and IN gives the input and my Linux IP address as
IN NS ns1.Bhurtel.itc333.edu
# now add the input and record for java, wiki and win
That’s it, you are done!
Thanks for visiting see you again!
Read More: Naa Songs


