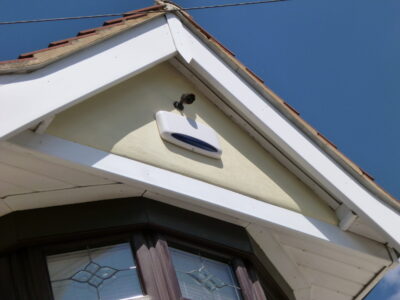
Driveway alarm self installation guide for you

Driveway alarm systems are very useful for all kinds of setups. Whether you want to secure your house, your offices, or your land these alarm systems are the best options. There are other devices like motion detectors and security cameras as well to choose from but they are not as versatile as the driveway security systems.
In most cases, the motion sensors are not able to differentiate between animals, vehicles, and people and trigger alarms every time. This creates a lot of confusion and maintenance of security is really difficult. With security cameras problem is that they need 24×7 manual supervision. There should be a staff to monitor the video telecast by the cameras. Also triggering an alarm in case of a threat should be done manually. Wireless Driveway alarms are best as they are optimized to handle all these conditions easily.
The Installation
Most of the driveway alarm systems are compact and come as a DIY unit. They can install without any assistance from professionals. There is a sensor unit is installed in the driveway area and a receiver unit is installed indoors which triggers an alarm in case of an intrusion. The installation of these systems is simple and straightforward.
Here we are providing you step by step guide to installing a driveway alarm on your own. You will need just basic skills and tools to get it done right. Get ready with your driveway alarm system, a shovel, and a set of batteries.
Step 1
The first step is to decide where you will install the sensor in the driveway. Read the instruction manual to know the range of the radio signal of the device. It is important to note that you should not place the sensor beyond the mentioned range from the receiver installed in your house. Also as a good choice do not put sensors around 25 feet area from neighboring properties and public roads.
Step 2
Now comes the part to install the sensor. Usually, there is a two-part unit with a sensor and a transmitter. You have to bury the sensor in the driveway area and connect it to the transmitter cable. Set the transmitter on a small post that is at least 2ft above ground.
Step 3
The last step of the outdoor installation is to install batteries in the transmitter. Make sure that the batteries are fully charged and connected to the transmitter correctly.
Step 4
The last step is to install the receiver in the indoor unit of the alarm system. Run a test to confirm that the alarm system is working properly. Calibrate the alarm speaker so that the sound is an audible alarm. Connect the flashlight properly which is triggered automatically when the alarm goes on. For improved reception, you can place the receiver at an open position in your house which is facing the driveway sensor. Also, set signals within the transmitter and the receiver so that the signal is read accurately.
These are simple steps to set up the driveway motion sensors on your own.
Summary: Driveway alarm systems can be installed without any professional help. Here we have shared a step-by-step guide for DIY installation.


